Comment photographier votre gâteau (7 conseils qui marchent)
Vous avez un gâteau sur mesure. En vrai, il est superbe. Vous prenez une photo et il a l'air... plat. Voici 7 conseils pratiques pour bien photographier votre gâteau, avec votre seul téléphone. Aucun équipement de studio nécessaire.
Conseil 1 : utilisez la lumière naturelle
La lumière naturelle d'une fenêtre est la plus grande amélioration que vous puissiez apporter. Placez le gâteau près d'une fenêtre avec une lumière indirecte. Pas en plein soleil ; cela crée des ombres dures et brûle la crème au beurre blanche. Les jours nuageux offrent la lumière la plus douce et la plus uniforme.
Éteignez les plafonniers et les lampes. Une lumière mixte (lumière du jour plus lumière intérieure chaude) rend les couleurs ternes et donne une teinte jaune à la photo. Une seule source de lumière, naturelle, sur le côté.
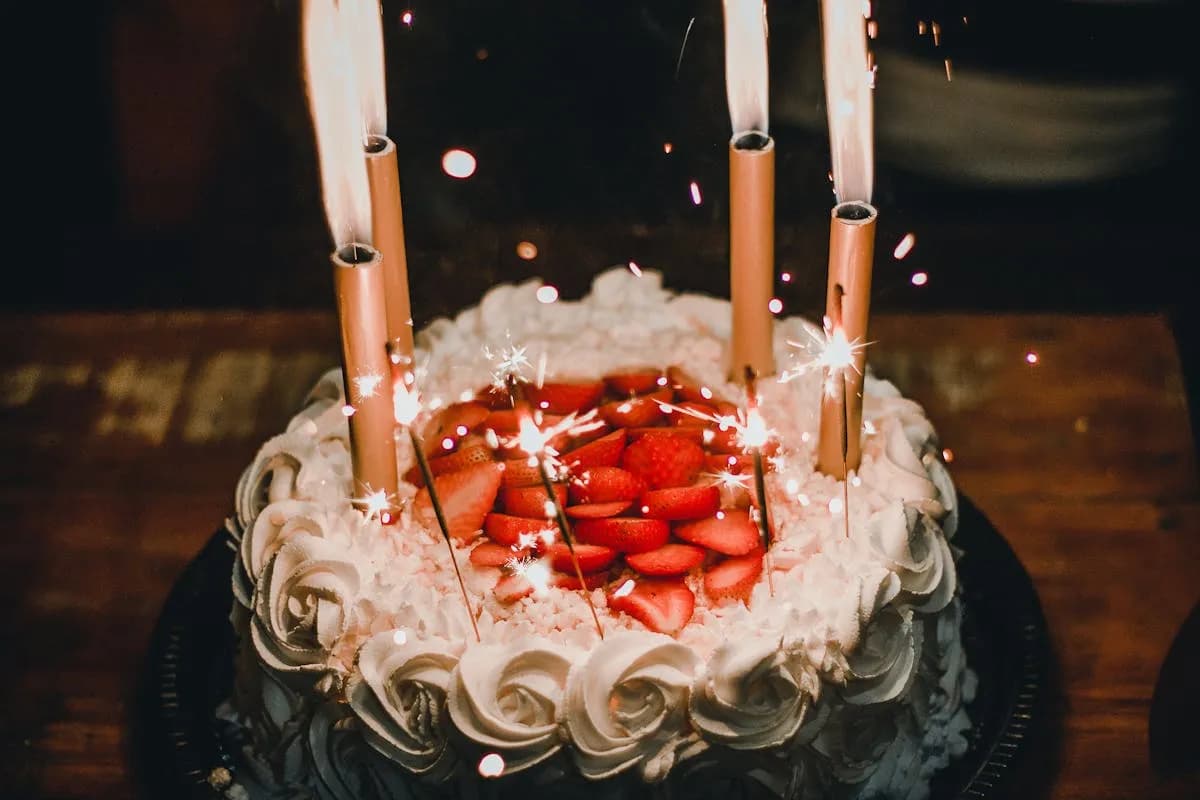
Conseil 2 : photographiez à la hauteur du gâteau
L'erreur la plus courante consiste à photographier d'en haut, en regardant droit vers le bas. Cela aplatit le gâteau et masque les couches, les détails du drip et la hauteur.
Au lieu de cela, abaissez votre téléphone au niveau du gâteau, à peu près à mi-hauteur. Cela met en valeur la décoration latérale, les coulures et la texture de la crème au beurre. Pour les gâteaux à étages élevés, photographiez légèrement sous le centre pour souligner la hauteur.
L'angle plongeant fonctionne pour des éléments plats comme un buffet de cupcakes ou une sweet table. Pour un gâteau seul, la hauteur des yeux est presque toujours préférable.
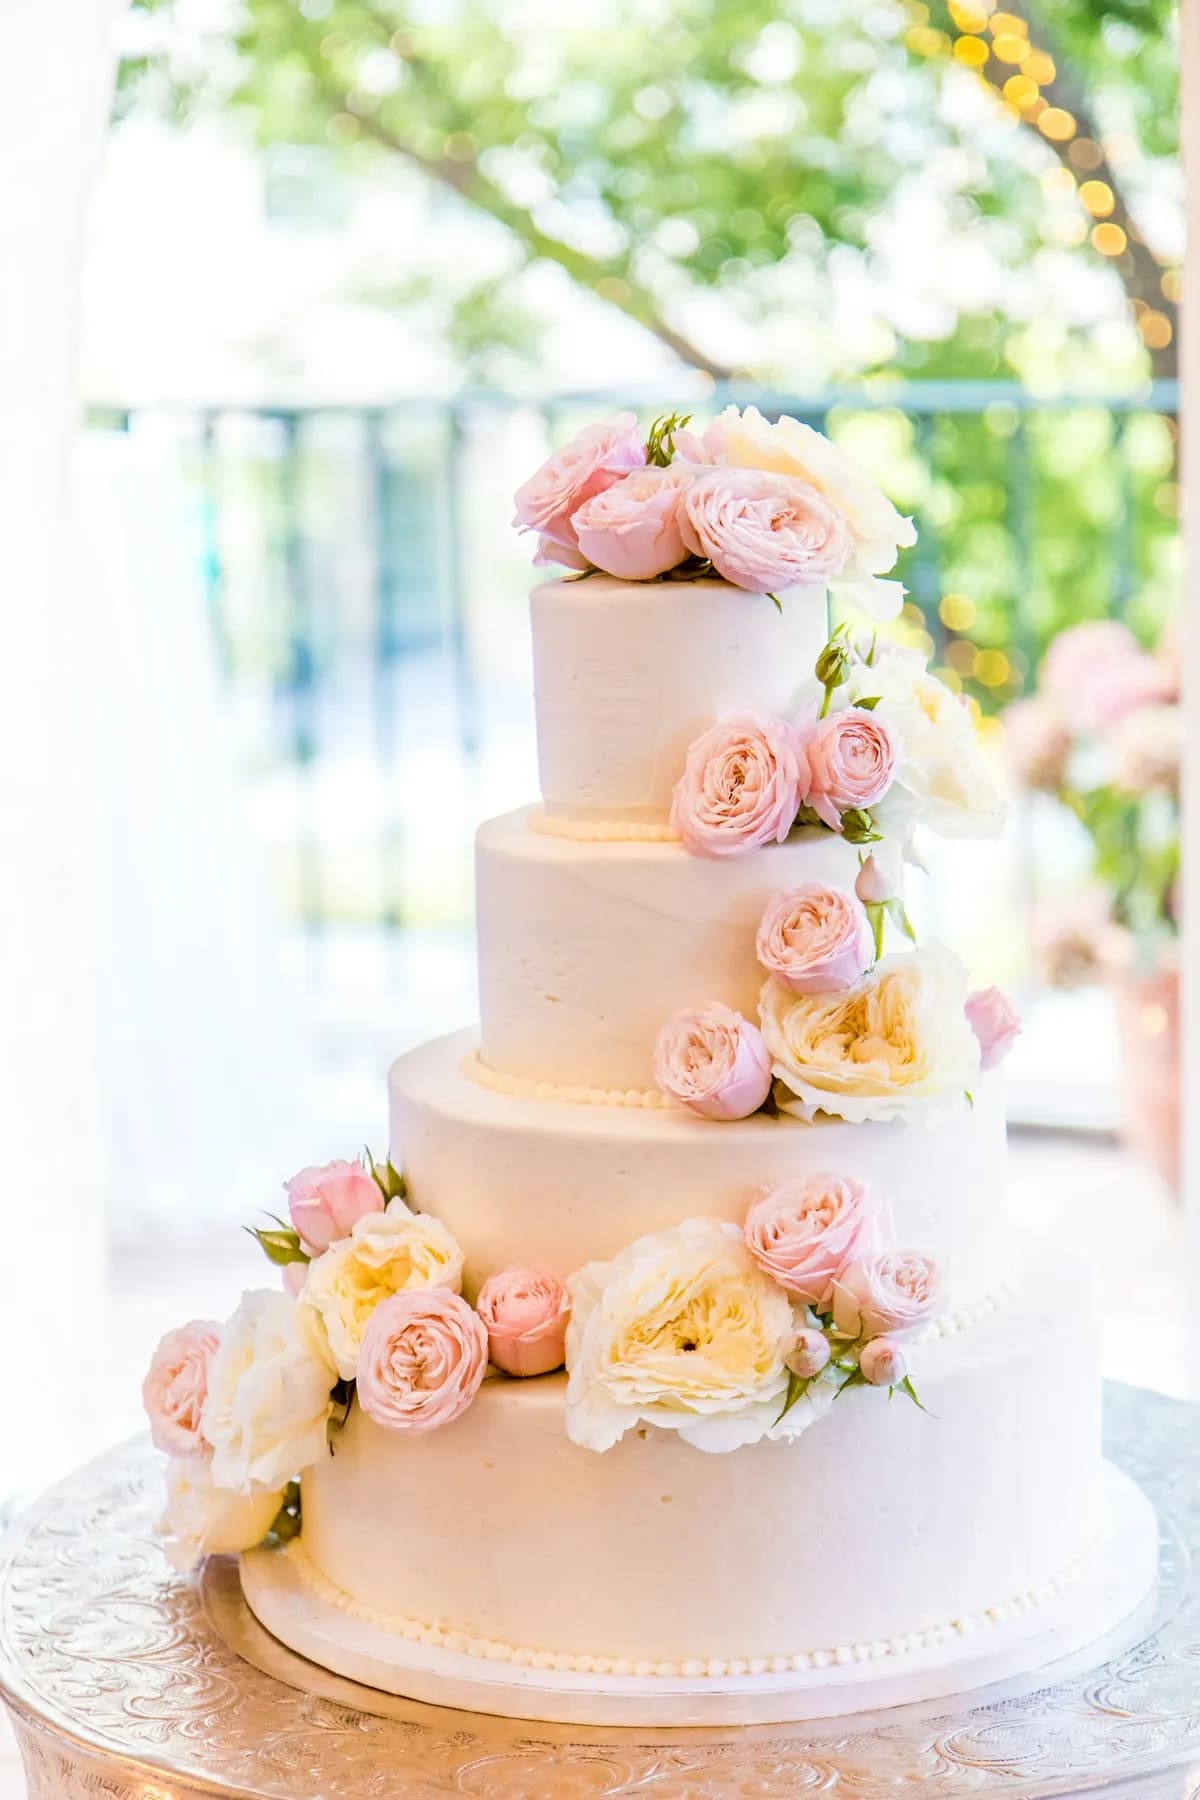
Conseil 3 : gardez l'arrière-plan simple
Un fond épuré attire l'attention sur le gâteau. Un mur uni, une table en bois, un plan de travail en marbre. Évitez le désordre de cuisine, la vaisselle sale ou les objets aléatoires dans le cadre.
Si vous voulez ajouter des accessoires, restez minimaliste et coordonnez les couleurs : une serviette en lin, quelques fleurs de l'arrangement de la table, le couteau à gâteau. Trois objets maximum. Tout dans le cadre doit sembler intentionnel.
Conseil 4 : nettoyez le carton à gâteau
Avant de photographier, essuyez le carton à gâteau. Les traces de crème au beurre, les miettes ou le sucre glace sur le carton détournent l'attention du gâteau lui-même. Un coup rapide avec un essuie-tout humide fait une différence visible sur la photo finale.
Conseils 5 à 7 : gains rapides
Conseil 5 : utilisez le mode portrait. La plupart des téléphones ont un mode portrait qui floute l'arrière-plan. Cela crée de la profondeur et fait ressortir le gâteau. Ce mode fonctionne particulièrement bien à hauteur du gâteau avec un fond simple.
Conseil 6 : prenez beaucoup de photos. Ne prenez pas un seul cliché et arrêtez. Tournez autour du gâteau. Essayez différents angles : de face, à 45 degrés, des gros plans du topper ou du drip. Vous choisirez la meilleure plus tard.
Conseil 7 : retouchez légèrement. Augmentez un peu la luminosité. Ajoutez une touche de contraste. C'est tout. Ne sur-saturez pas les couleurs et n'ajoutez pas de filtres lourds. Le gâteau doit ressembler à ce qu'il est en vrai, mais bien éclairé.
Identifiez-nous sur Instagram quand vous publiez votre photo. Nous adorons voir comment nos gâteaux atterrissent à vos célébrations à Rotterdam, Vlaardingen et en Zuid-Holland.
Questions fréquentes
Et si je n'ai que de la lumière artificielle ?
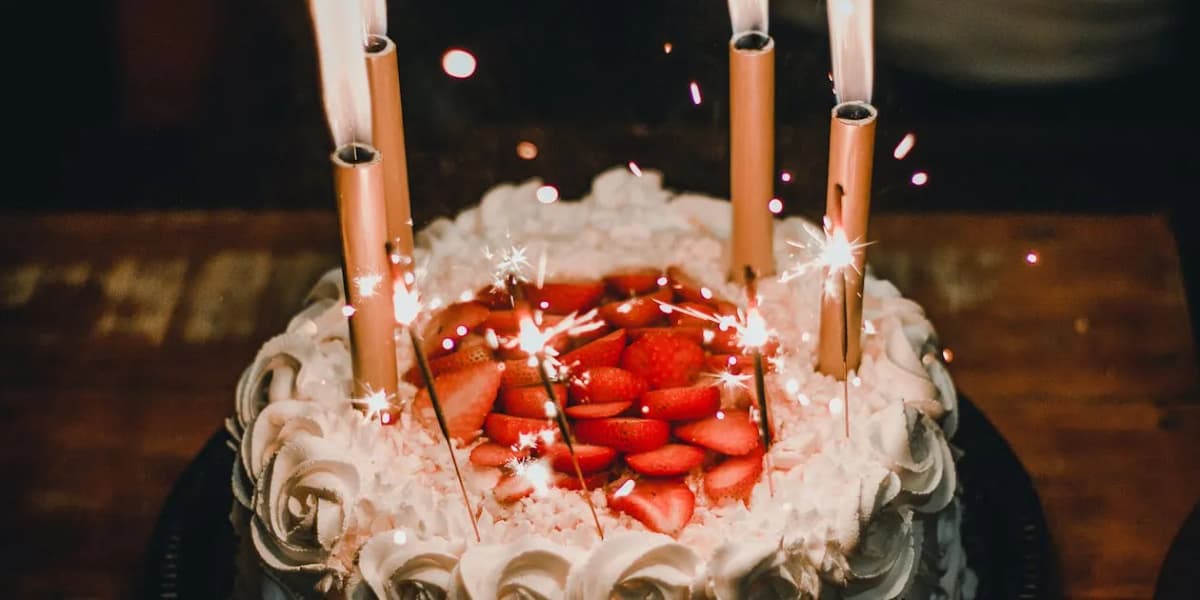
Faut-il photographier le gâteau avant ou après avoir mis les bougies ?
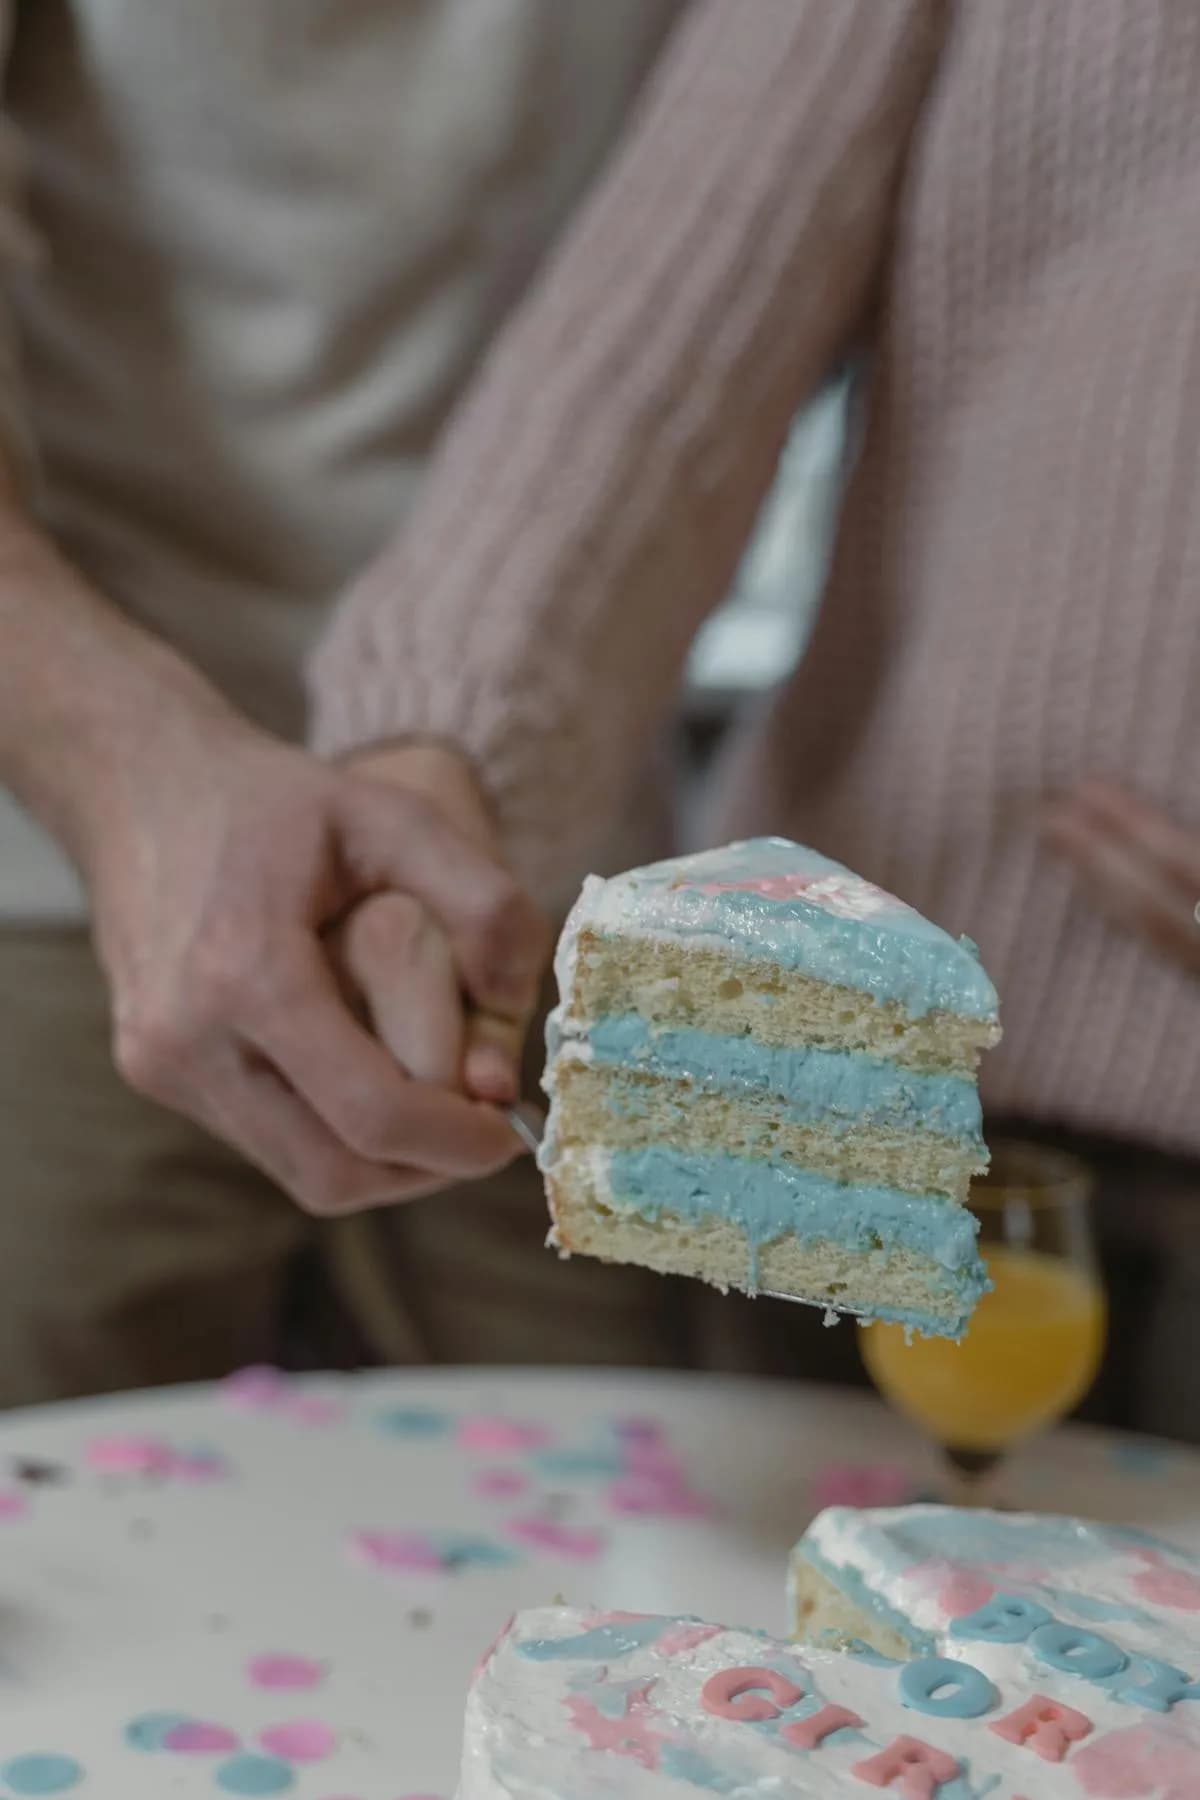
Comment photographier une part de gâteau pour montrer les couches ?
Prêt à commander votre gâteau ?
Que vous prépariez un anniversaire, un mariage, un événement professionnel ou toute autre célébration, LittleCakesNL crée des gâteaux sur mesure pour rendre chaque occasion inoubliable.
Commander votre gâteau